Grow your own: Microgreens

Kitchen gardening
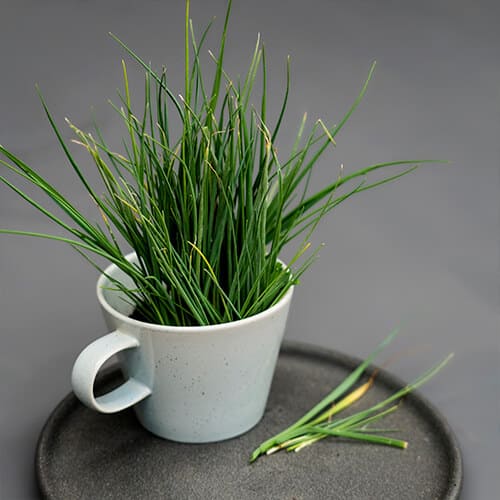
Sprouting microgreens is a delicious and fun cold-weather indoor gardening project for both adults and kids. Here’s how to make sure you have an endless supply of microgreens throughout the seasons.
You’ll need
- Raw seeds, grains or legumes of your choice (for example: radish, peas, buckwheat, broccoli, mustard, coriander, chia, fenugreek, alfalfa, beetroot)
- Potting soil
- Various shallow bowls, containers or foil trays 5–8 cm deep
- Cling film
How to do it
- Soak larger seeds like peas a day in advance.
- Mix the potting soil with water so that the soil becomes moist but not soggy.
- Spread a thick layer of soil on the bottom of the containers.
- Scatter the seeds evenly on the soil so that they cover the surface.
- Add another thin layer of soil.
- Cover with cling film or the lid of the container to lock in humidity. Store out of direct sunlight in a bright area.
- When the seeds begin to sprout (within 1–3 days), remove lids or cling film and move to sunnier spots. Start watering every 2–3 days.
- Depending on what you’ve decided to sprout, you should be ready to harvest in up to 21 days. Cut only what you need, above the soil, and use in stir-fries, salads and sandwiches. Compost the leftover roots and seeds.
Tips
- Ideal temperature for sprouting is 15–21°C.
- You can also grow sprouts without using soil from sprout bags or simply in jars.
- Seeds need humidity before they germinate and water and light after sprouting.
- Start a small batch of sprouts every few days for a continuous supply year-round.
Share with friends

You might also like
Shop online
-

-
Sale!
SHELF WITH WOOD 76X31X160CM
- Original price was: R4,439.99.R1,999.99Current price is: R1,999.99.
- Add to cart Learn More
-
Sale!
-

-
Sale!
PEBBLE SANDSTONE CRUSH LARGE 19MM
- Original price was: R69.99.R59.99Current price is: R59.99.
- Add to cart Learn More
-
Sale!

